healthy

Caprese Salad for Every Season

hie-1.jpg

We have sung praise and joy many times about the abundance of fresh fruit, veggies, and delights we have year-round in California. One thing we have had to adapt to since moving away is the idea of seasonal cooking. We're not saying we didn't cook seasonally back home, but we took advantage of the fact we could always find decent ripe tomatoes and other produce year-round. In Virginia, the tomato season is a HUGE deal. When the first Hanover tomatoes hit the grocery store and farmers markets, people practically run to buy them, and every restaurant's specials list includes some type of tomato dish. We took advantage of the tomato season this summer. With that wrapping up, we wanted to share our favorite recipe highlighting our beloved savory fruit: the Caprese Salad, with some tips and tricks to recreate this dish year-round. We recommend pairing Caprese Salad with unoaked or lightly oaked Chardonnay or nice crisp Sauvignon Blanc.

xxx Ivy & Eve

Tips:

Oil & Vinegar: 

Since this recipe is so simple, it's the perfect excuse to use your best olive oil and vinegar. We love playing with different oil and vinegar combinations from our favorite hometown producer of oils and vinegar: Quail & Olive. Some of our favorite combinations right now are Basil olive oil with Winter Ambrosia vinegar and Tuscan Blend olive oil with either Mission Fig or Raspberry Basil vinegar.

We use another of our favorite olive oils from Holman Ranch, which happens to make some of our favorite Pinot Noirs too! 

hie-4.jpg
hie-5.jpg

Seasoning:

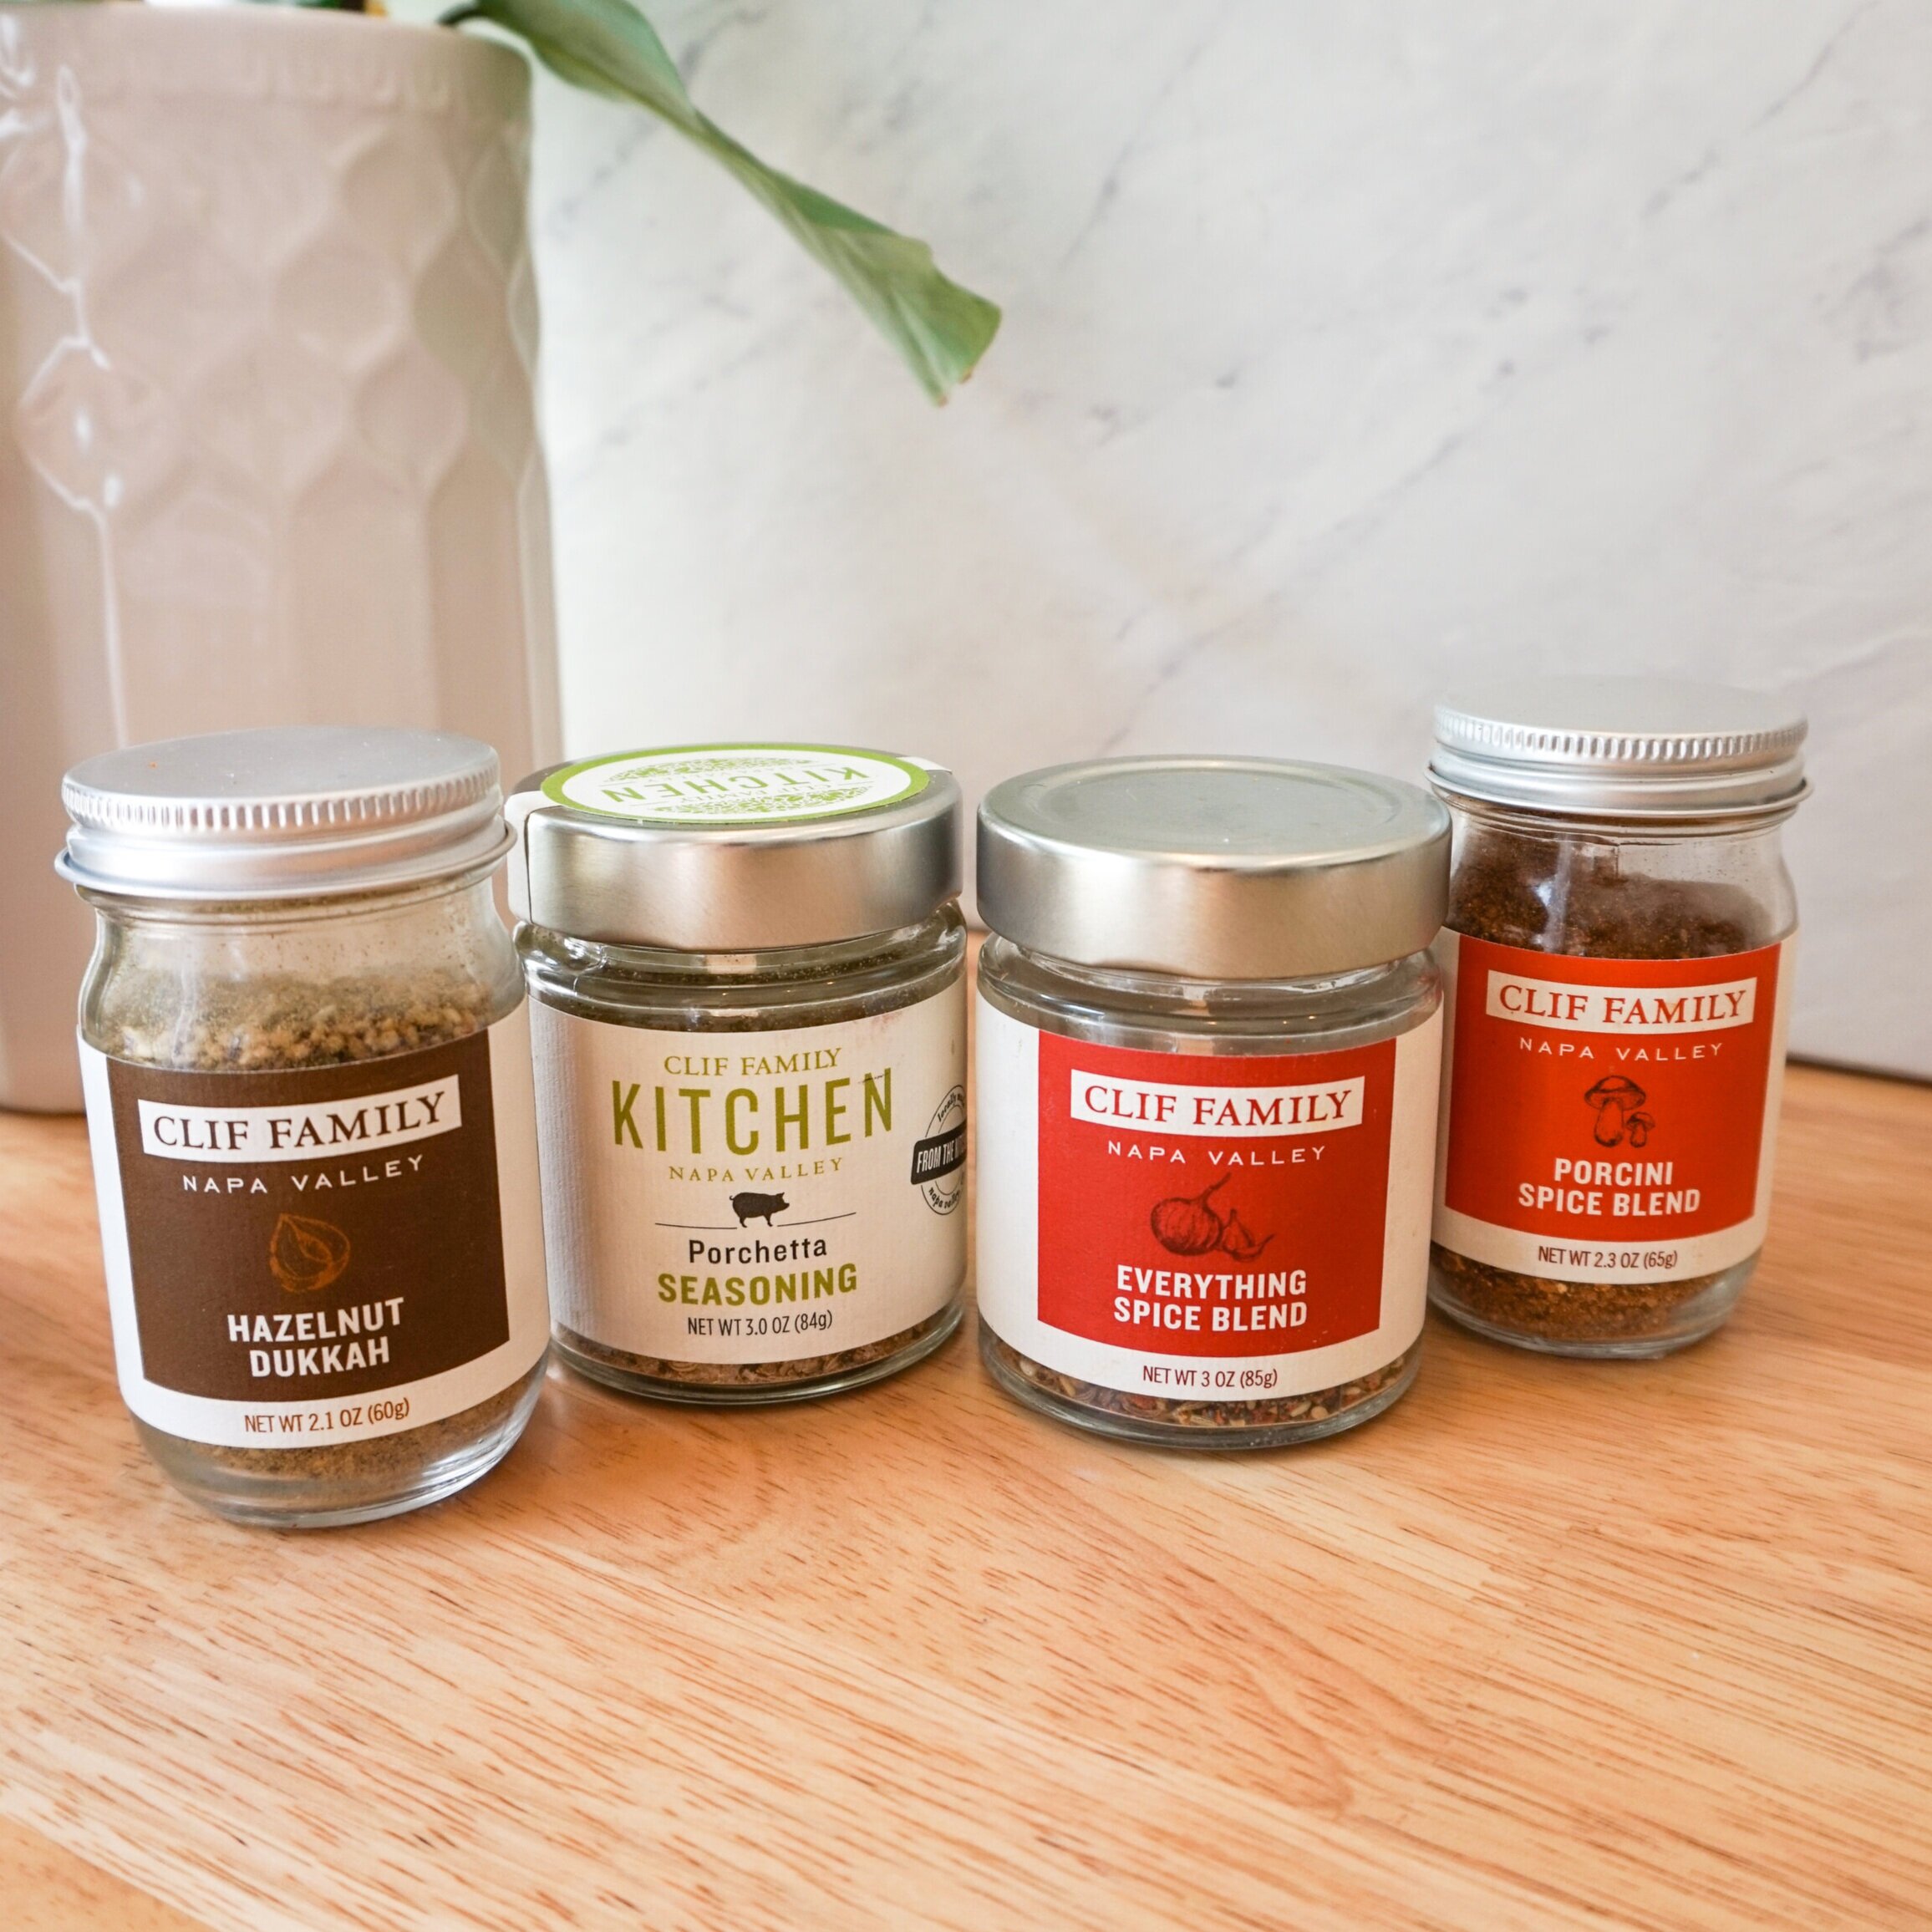
This is also a perfect recipe to use fancy salts and fresh cracked pepper or swap them with those fancy seasonings you might have lurking in our spice drawer. We've been loving Clif Family's spice blends, Everything Spice Blend and Porchetta Spice Blend. For salt, we use Maldon or Hawk Head Whisky Smoked Chili Salt that we picked up the last time we were in Scotland.

hie-7.jpg
hie-6.jpg

Dressings:

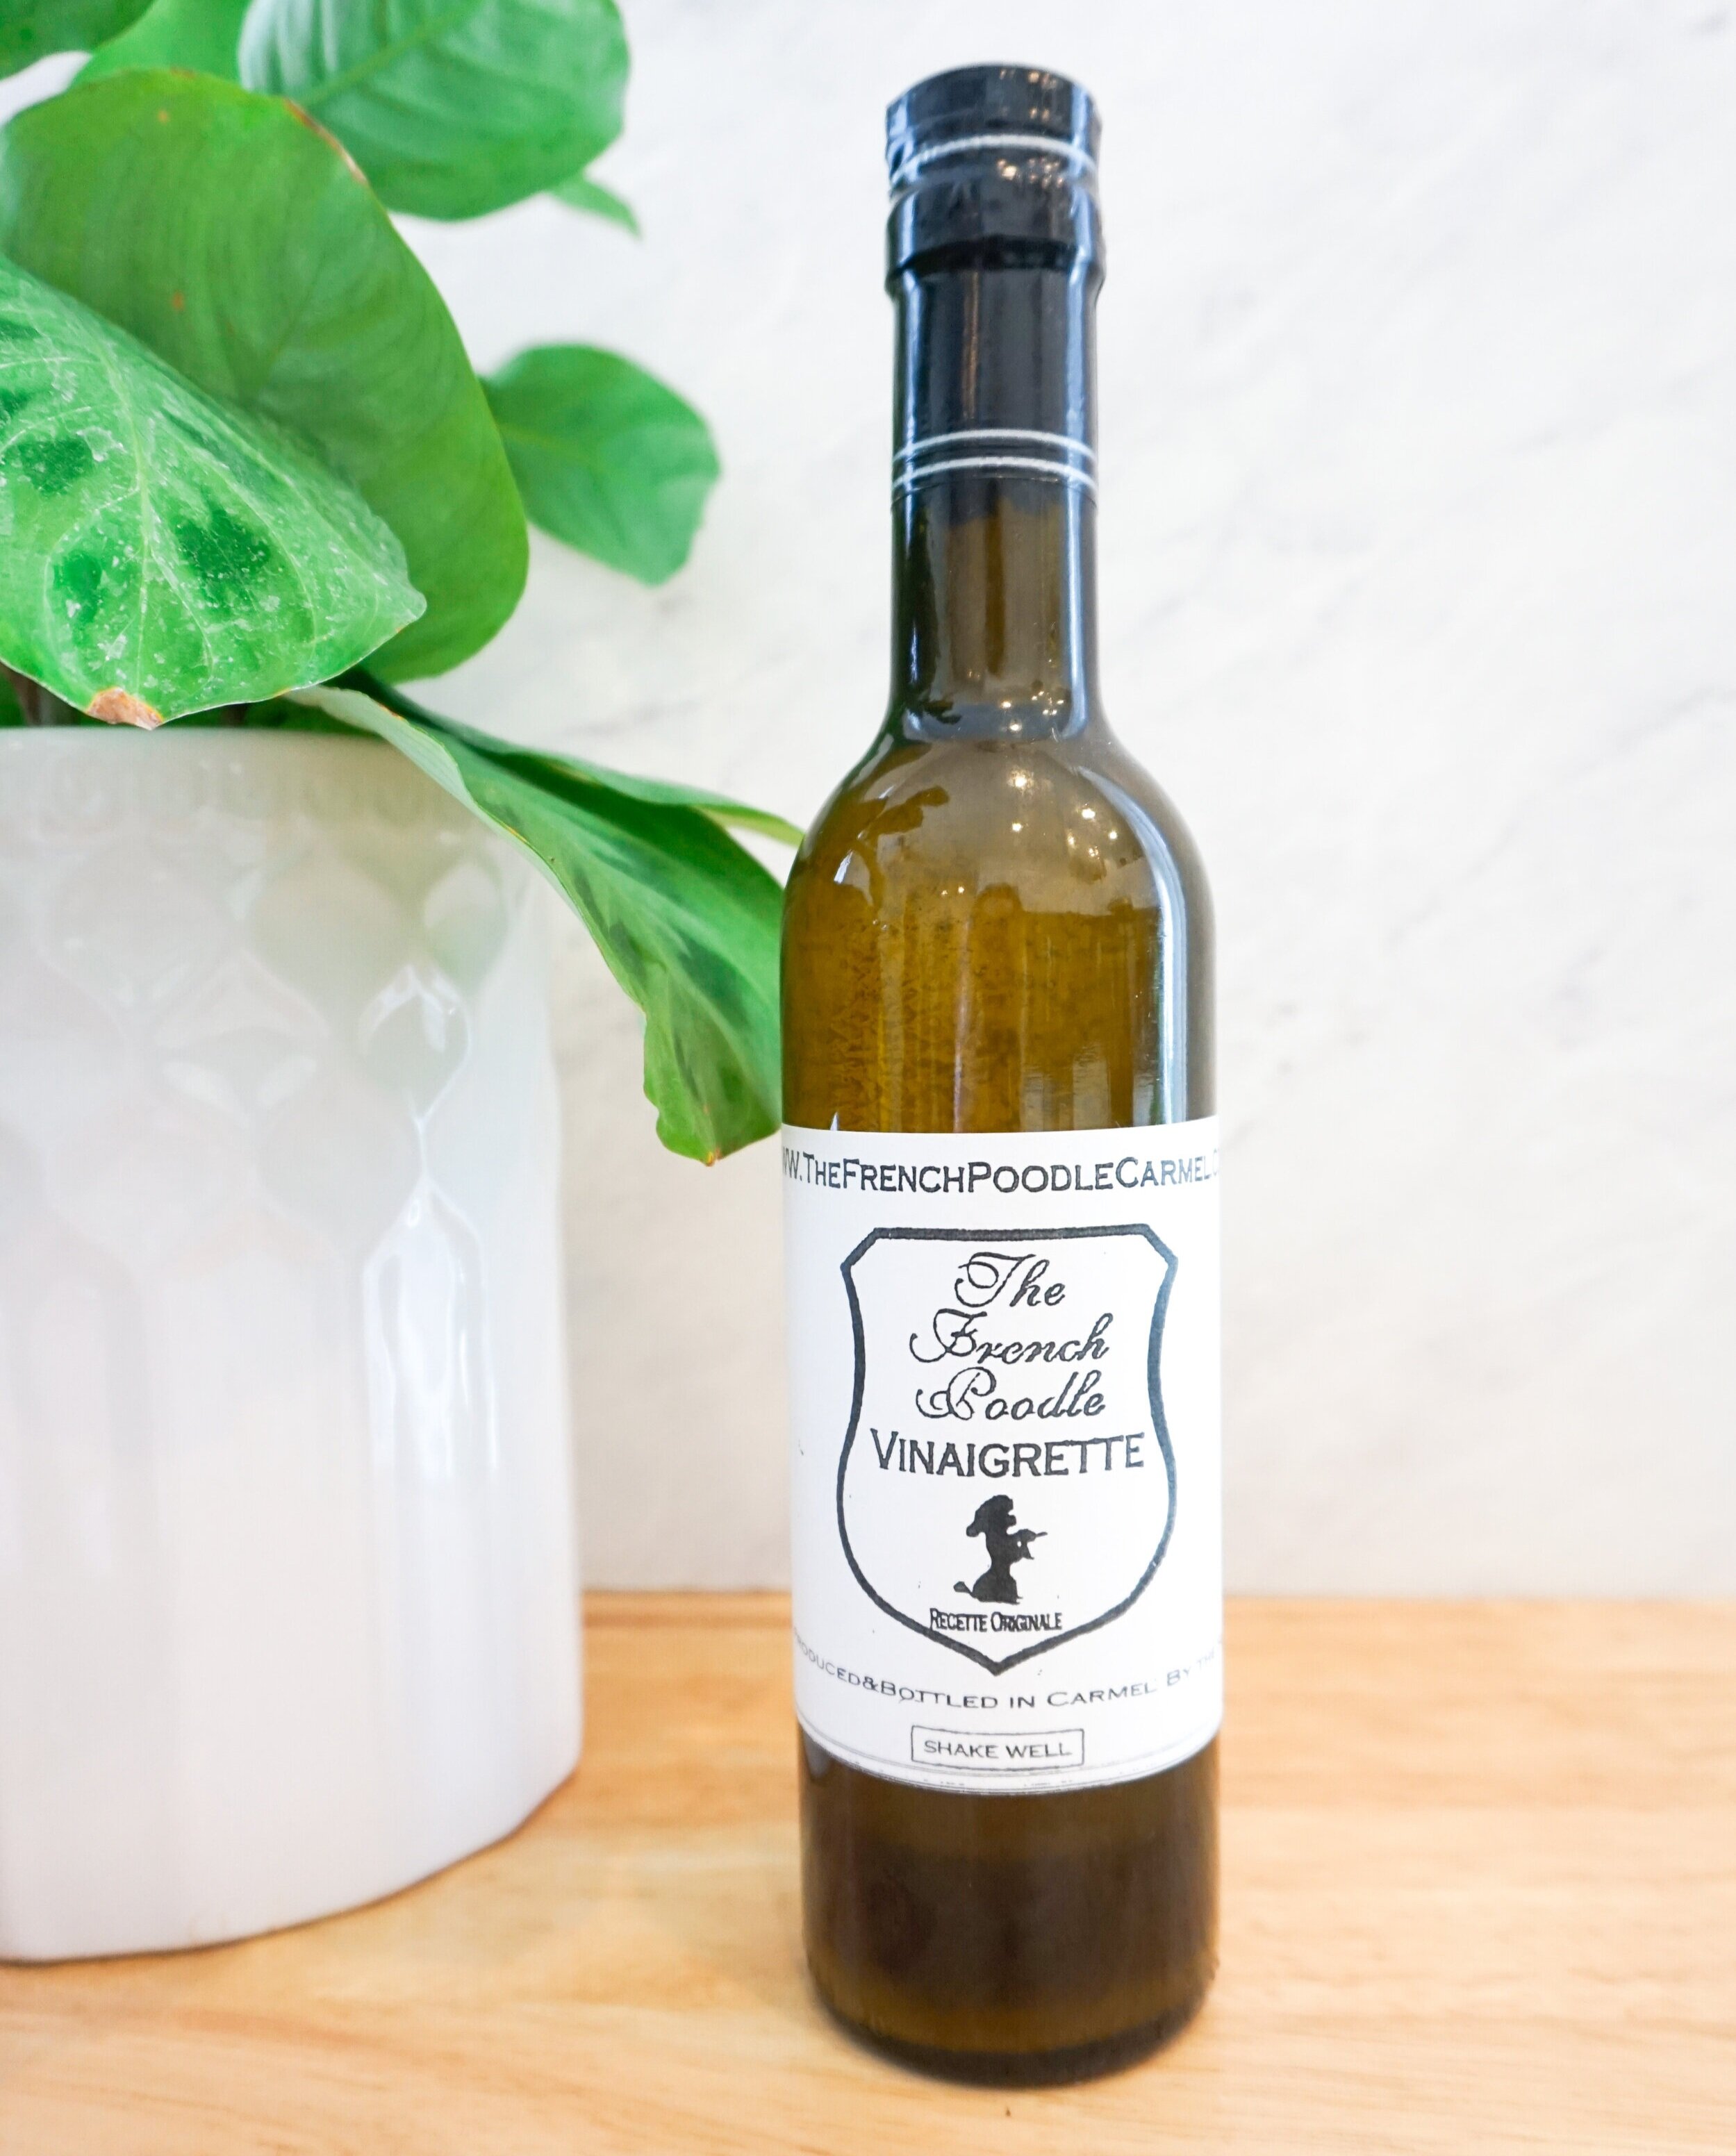
Another fun way to dress your Caprese salad is to use a bottled dressing. We tend to use lighter, vinaigrette type dressings, and our absolute favorite is French Poodle Vinaigrette. The recipe originated from Cote d'Azur in 1870 and made its way to our hometown in 1961 when Marienette and Jean Beacham opened The French Poodle restaurant in Carmel, CA. The recipe remains a secret, and now you can buy it online or in select shops. 

image0+%281%29.jpg

Seasonal Produce:

When tomatoes are out of season, we love to play with different produce. Here are a few of our favorite combinations: 

Spring/Summer:

  • Traditional Caprese - Tomato + Mozzarella + Holman Ranch Olive Oil + good balsamic

  • Nectarine or Peach + Burrata + Tarragon (Previously featured here)

Fall/Winter: 

  • Roasted Tomato + Burrata or Mozzarella torn into small chunks (we roast cherry tomatoes with fresh thyme tossed in olive oil at 400F for about 40 minutes)

  • Persimmon + Mozzarella + Quail & Olive Basil Olive Oil + Quail & Olive Winter Ambrosia Vinegar

Make it a Meal:

When we're serving this as a main dish and want to make it more substantial, we like to serve it on a bed of arugula, add shredded rotisserie chicken, and double the oil and vinegar. It would also be delicious with some homemade croutons to soak up a bit of the dressing!

image.jpg
hie-3.jpg

Here is our tried and true recipe for a classic (but delicious) Caprese Salad. Feel free to add or sub any of the ingredients with your own favorites!

Serves 2.

Ingredients:

  • 2-3 medium ripe tomatoes, sliced 1/4-inch thick

  • 1 ball of fresh mozzarella cheese, sliced into 1/4-inch-thick rounds

  • A handful of fresh basil leaves

  • Flaky salt

  • Freshly cracked pepper

  • 1 tablespoon extra-virgin olive oil

  • 1 tablespoon good quality balsamic vinegar (this is the time to break out the good stuff)

Directions:

  1. On two salad plates (or one large serving dish if serving family-style), arrange the tomato and mozzarella slices in an alternating pattern. 

  2. Tear and scatter basil leaves on top of the tomatoes and mozzarella. 

  3. Season with fresh cracked pepper and flaky salt. 

  4. Drizzle with olive oil first, then balsamic vinegar. 

  5. Enjoy! 

DSC00130.jpg

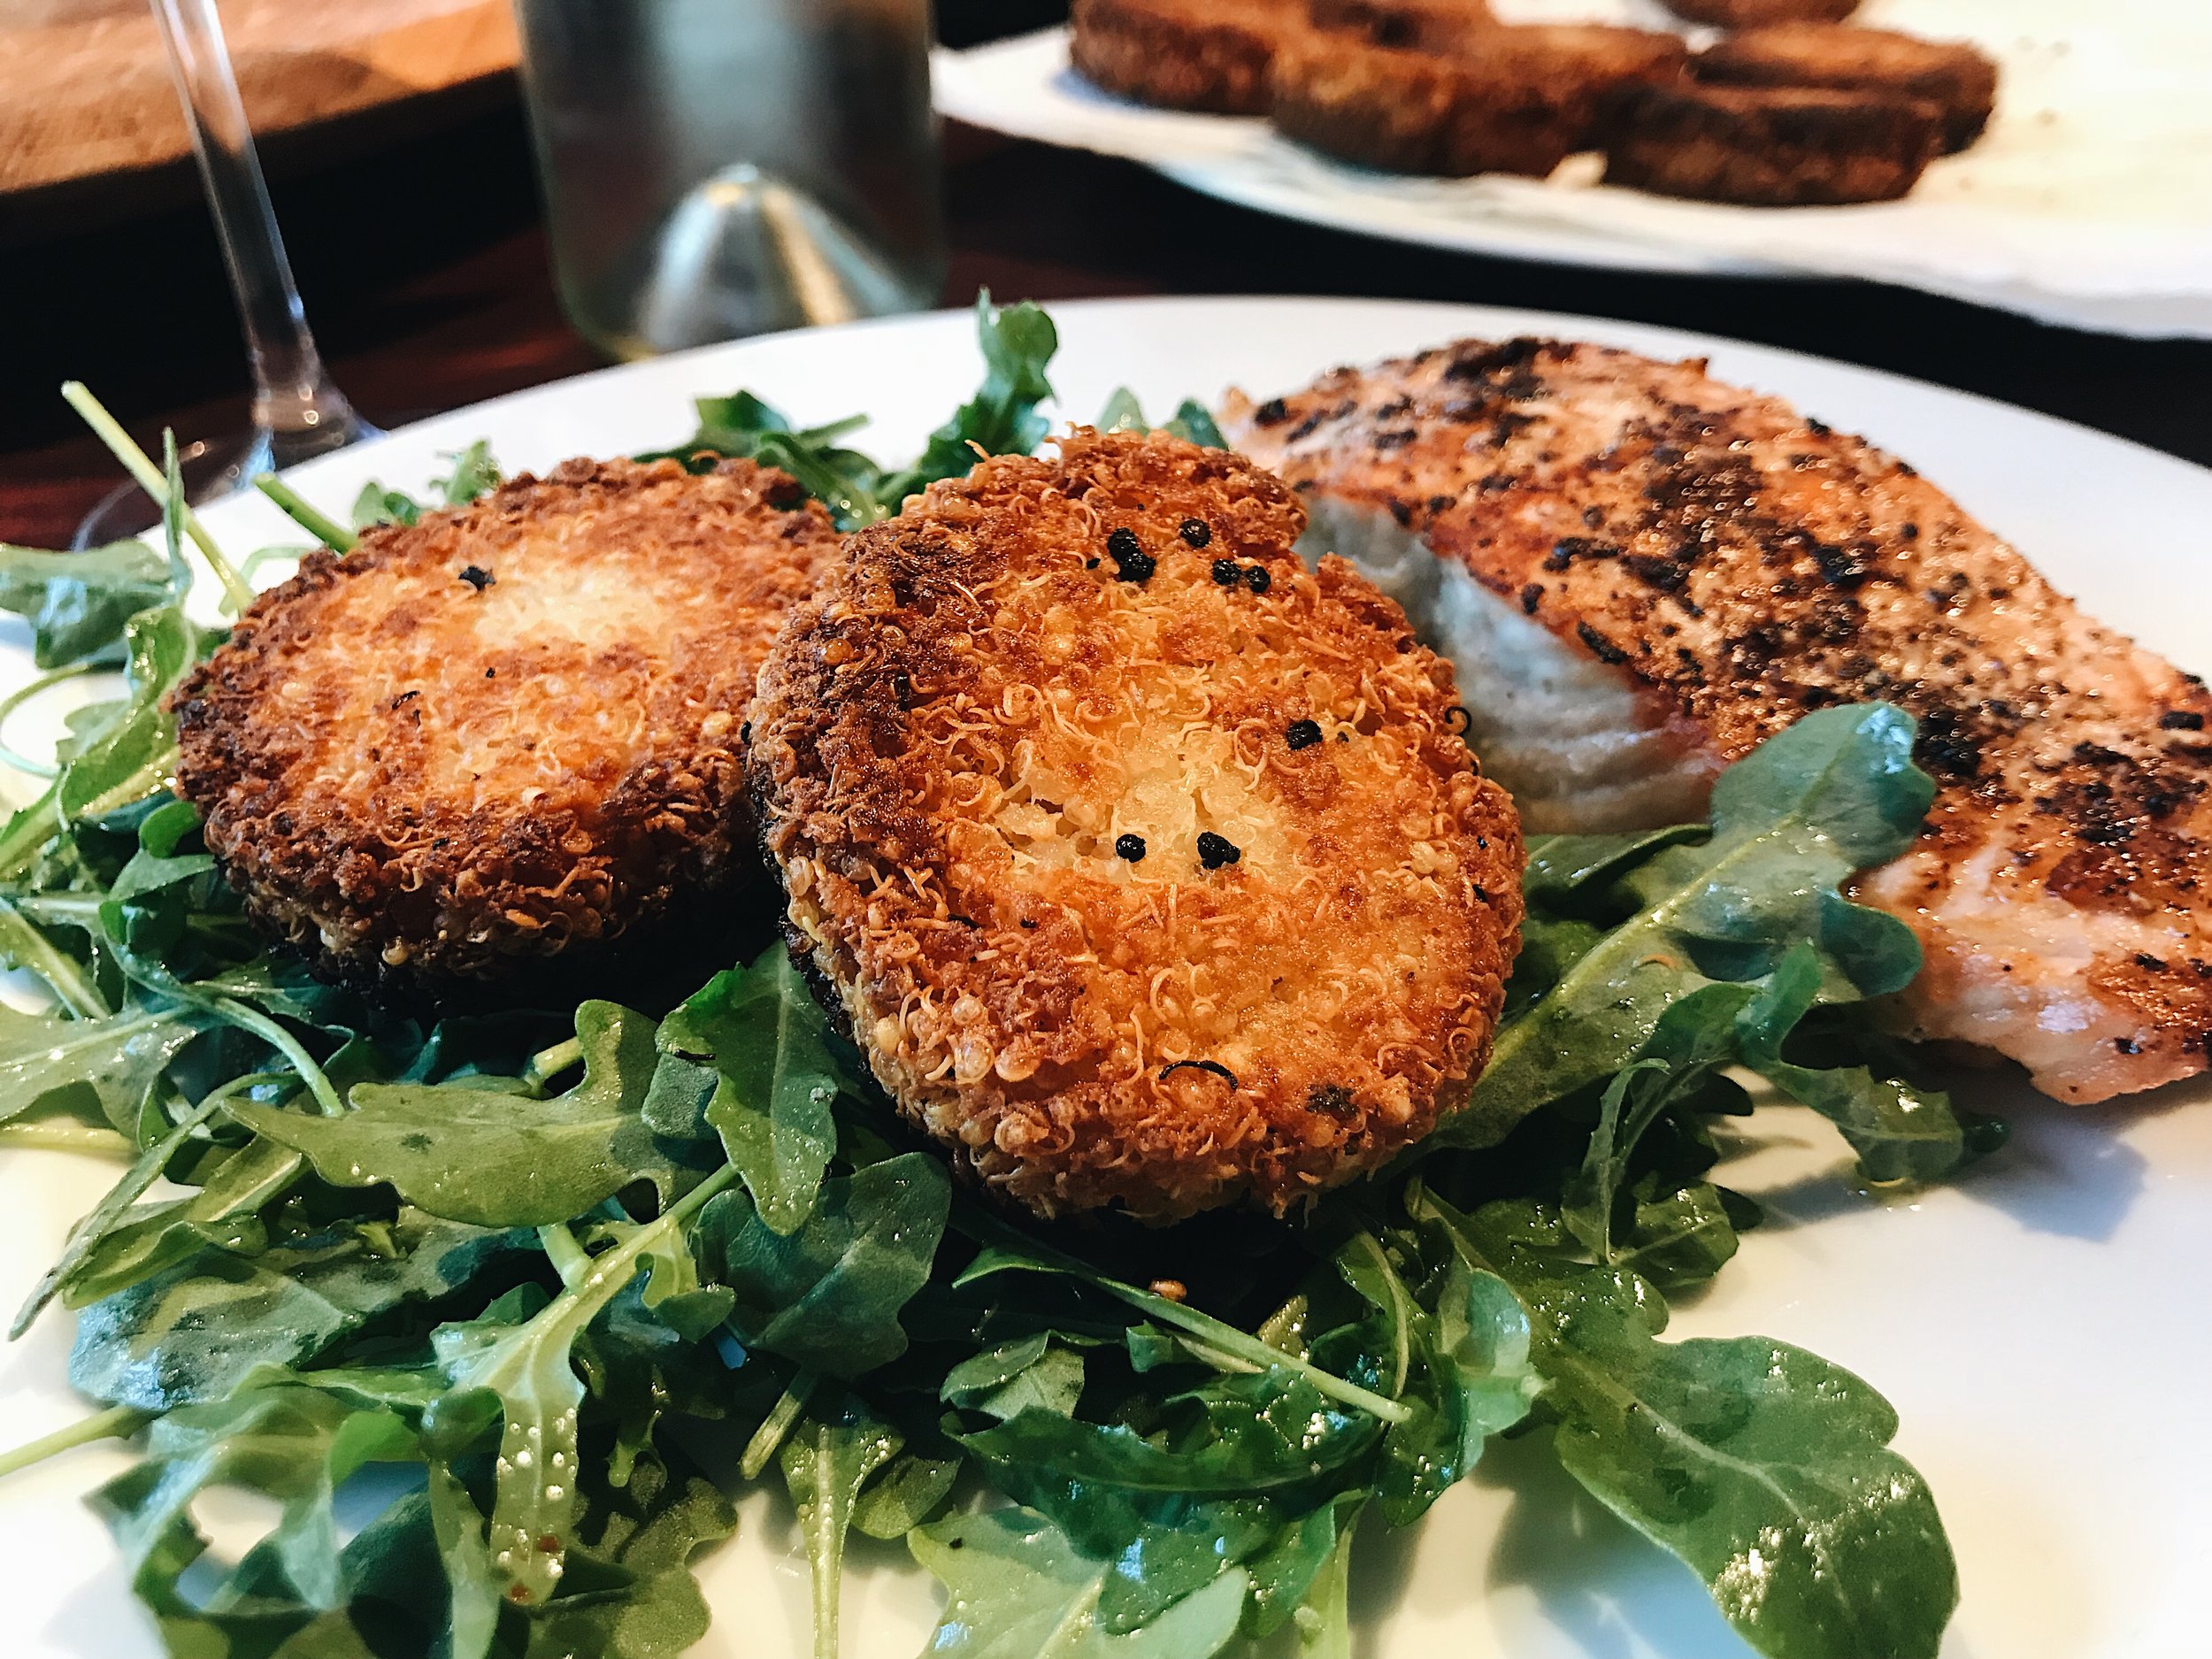
Crispy Cheesy Quinoa Fritters + Simple Salad

3C671FAA-E056-40D7-85AC-53A38E285350.JPG

One of our favorite things about summer is al fresco dining. We spend a lot of time lounging by the pool or reading books under the shady wisteria trellis. When it comes to dinnertime, the last thing we want to do is spend an hour in the hot kitchen, so we tend to make quick meals and do LOTS of grilling. This recipe uses only a few ingredients and is super quick, allowing for more time to enjoy the meal with a crisp glass of grenache blanc and friends. To make it a more complete meal, serve it with simple grilled or broiled salmon. On its own, it makes a great lunchtime meal!

xxx Ivy & Eve

Serves 4.

Ingredients:

For the fritters...

  • 1/2 cup dry quinoa

  • 1 tbsp butter (optional but always preferred!)

  • 1 cup cooking liquid (we use 1/2 water, 1/2 chicken or veggie broth)

  • 1/4 tsp salt (plus more to taste)

  • Fresh cracked pepper

  • 1 tsp herbs de Provence (or your favorite herb mix)

  • 1/4 cup freshly grated parmesan

  • 6 tbsp fresh goat cheese

For the salad...

  • 6 cups arugula

  • 2 tbsp olive oil

  • 2 tbsp fresh lemon juice

  • Flaky salt (we use Maldon)

  • Fresh cracked pepper

Directions:

  1. Cook the quinoa (the steps below share how Eve likes to cook hers).

    • a. In a pot, add the dry quinoa and butter and toast on medium heat until slightly golden and toasty scented.

    • b. Add the cooking liquid and salt and bring to a boil. Reduce to a simmer, cover the pot, and cook for about 15 minutes until the quinoa is tender and the liquid is absorbed.

    • c. Take the pot off the heat and fluff the quinoa with a fork and let cool a few minutes.

  2. Add the cheeses, herbs, and salt and pepper. Stir until the cheeses are all melted and let sit to cool enough to form the patties with your hands.

  3. Form into 8 patties, each about 2 inches in diameter.

  4. In a nonstick pan, heat the olive oil over medium heat (adding more as needed) until shimmering and add the patties to the oil.

  5. Pan-fry for about 4 minutes on each side (until golden brown).

  6. Transfer onto a plate lined with paper towels to drain.

  7. To make the salad, add the arugula to a large bowl. Dress with the olive oil, lemon juice, salt and pepper, and toss.

  8. Serve the salad with the quinoa patties on top!

  9. Enjoy!


02B7B71D-D027-40DC-8358-738F3C39EFA1.JPG
54F3570D-CAC9-4701-99AC-46CFFFF1896A.JPG
2CCC4FE7-120C-437B-8D28-EA1B81D6BF04.JPG
59CFB89C-388E-401B-892F-7B1F36B7F9AD.JPG

Adapted from Food52 here

Zucchini Carpaccio

3A089CA0-6810-4832-8CC6-9CD9004B6799.JPG

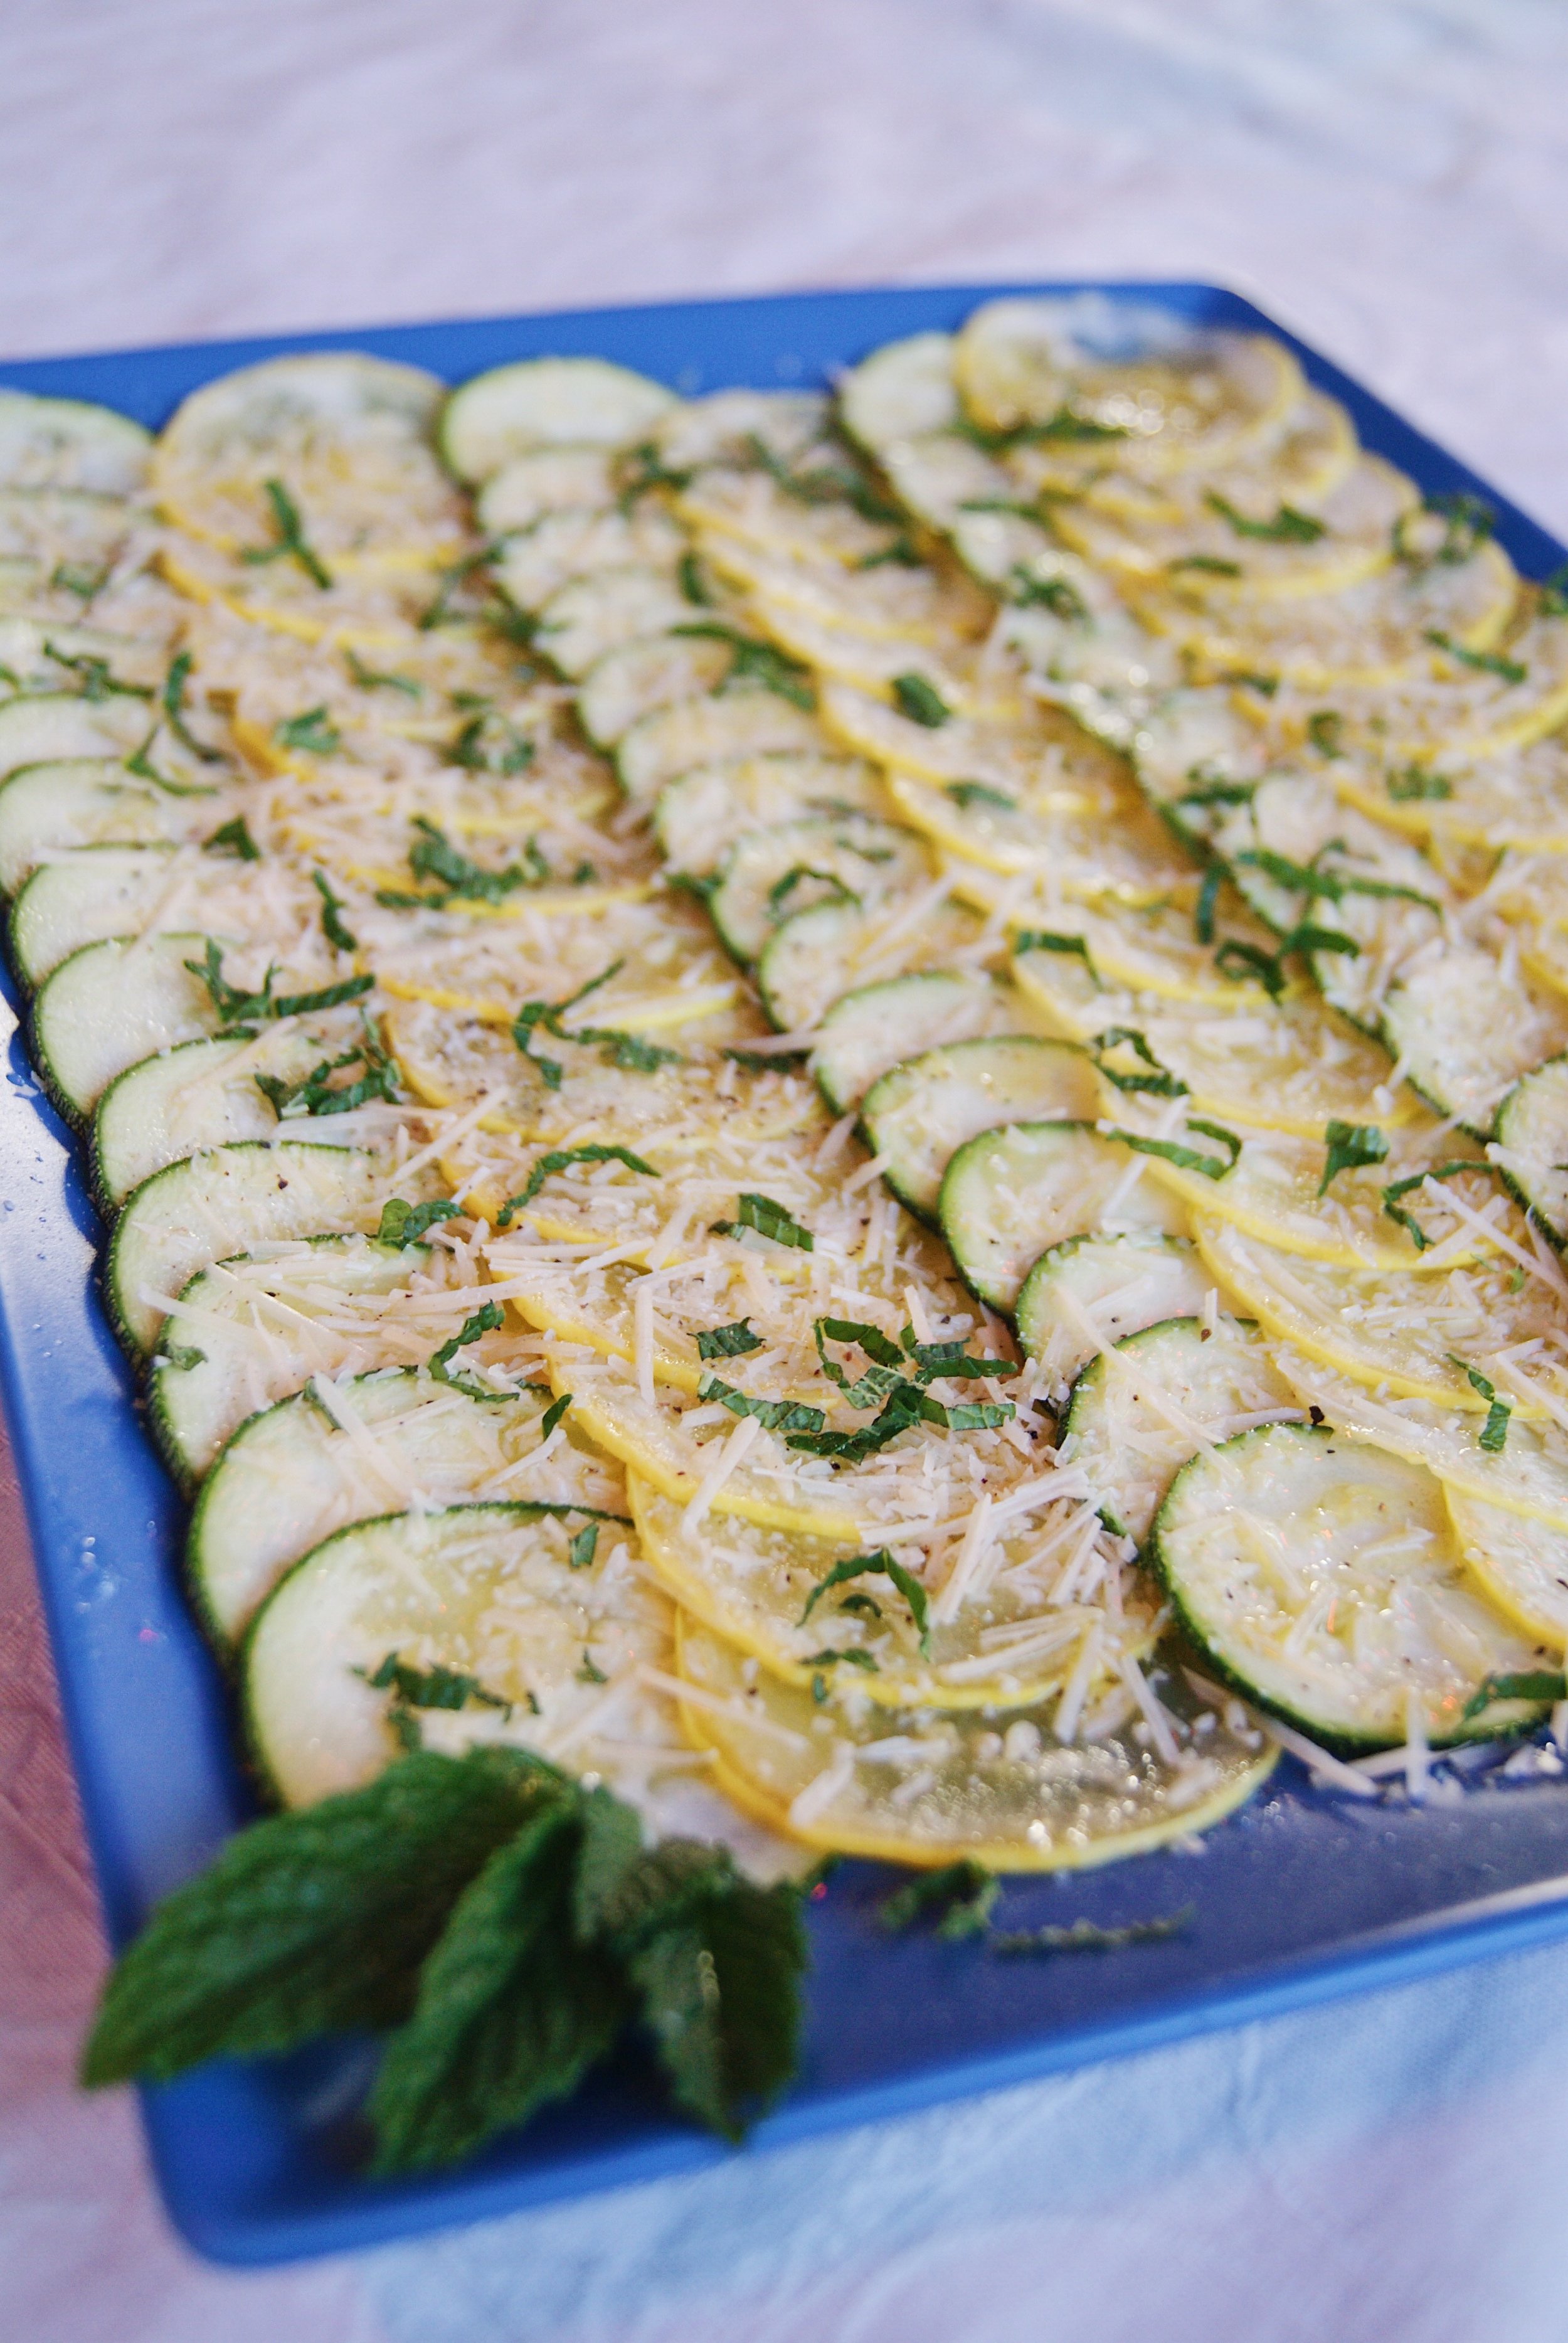
Beef carpaccio is one of our Dad's favorite dishes. Whenever we go out to eat, if any kind of carpaccio is on the menu, he must try it. A few summer's ago, we came across a recipe in some magazine for Zucchini Carpaccio and tested it out. We have since forgotten where the recipe came from and just use the recipe we made up. This dish is a great summer starter for any meal. We like to serve it on a giant platter where everyone can grab what they want and go back for more. You could also make it on individual plates for a more formal dinner. You can swap out the mint for any fresh herb (we sometimes make it with tarragon). This dish is super versatile! 

xxx Ivy & Eve

Serves 4 as an appetizer or side dish

Ingredients:

2 large zucchini

2 tablespoons olive oil

1 lemon

1/3 cup parmesan cheese, grated (grate your own cheese, it is always better that way)

5-7 mint leaves

salt and pepper

mandoline slicer (We got ours from OXO)

Directions:

  1. Slice the zucchinis very thinly with the mandoline. 
  2. Arrange on a platter, overlapping the slices slightly in one layer.
  3. Stack the mint leaves on top of each other and cut into fine slivers.
  4. Drizzle with olive oil.
  5. Sprinkle with parmesan cheese.
  6. Season with salt and pepper.
  7. Squeeze the juice of 1/2 of a lemon on the top.
  8. Sprinkle the mint on top.
  9. Enjoy!
7C131161-5471-4025-B046-F4437D93C14D.JPG